Video Tutorial
Watch the video below to help you better understand the rest of the article.
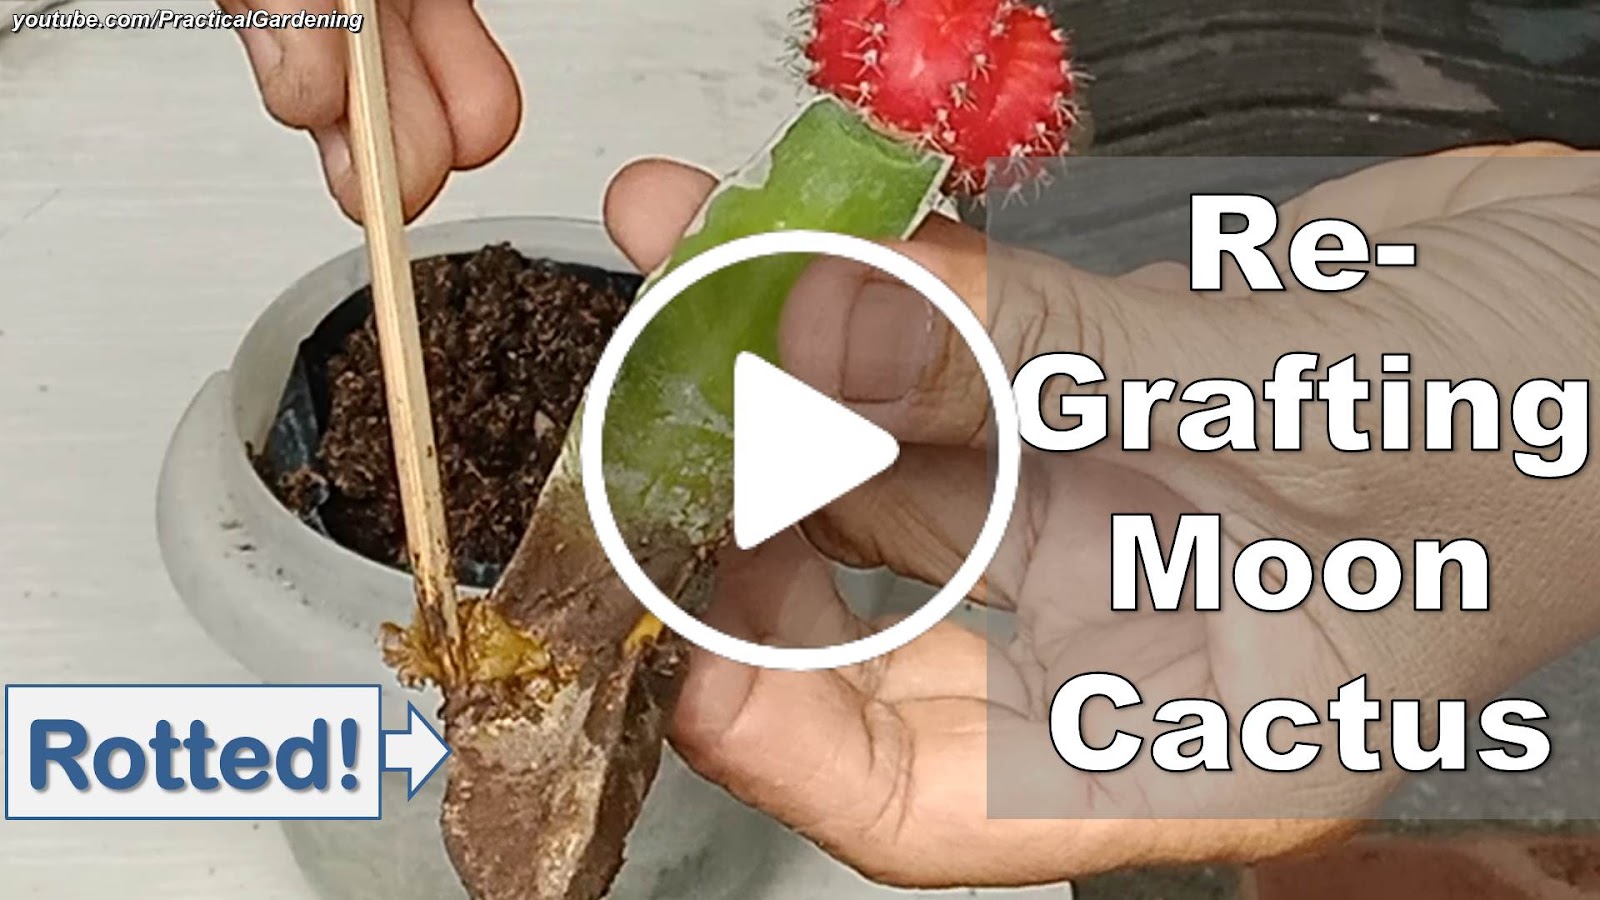
How the Dragonfruit Plant Stock Can Be Damaged
In a previous article, I discussed the steps on how to graft the moon cactus to the a dragonfruit plant. These are moon cacti that were pups or offsets that I was able to harvest from my sister-in-law's potted mature moon cacti. Many of them thrived and fourished and even had pups of their own.