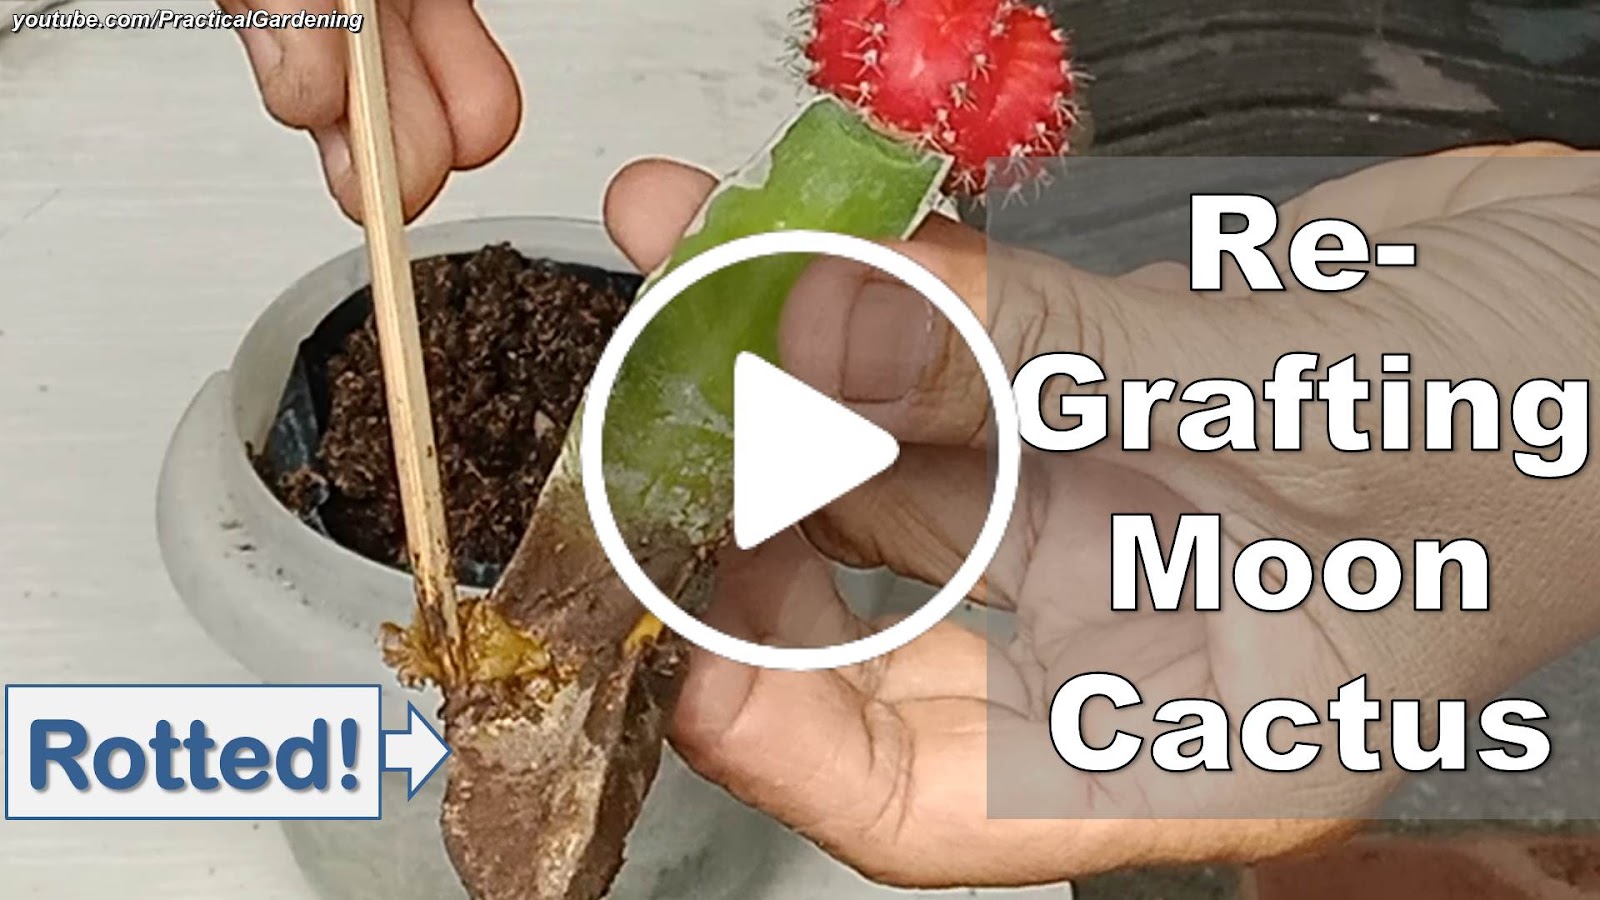
Re-Grafting Moon Cactus with a Damaged or Rotted Stock

Video Tutorial


Watch the video below to help you better understand the rest of the article.


How the Dragonfruit Plant Stock Can Be Damaged


In a previous article, I discussed the steps on how to graft the moon cactus to the a dragonfruit plant. These are moon cacti that were pups or offsets that I was able to harvest from my sister-in-law's potted mature moon cacti. Many of them thrived and fourished and even had pups of their own.

Technique for More Flowers from the Sandpaper Vine - Deadheading

There is a less-known technique for encouraging a wave of flowering for plants. If it is well-known, then I suppose it isn't practiced widely. That technique is called Deadheading. I wrote an article on Deadheading for More Flowers many years ago.

Over the years, I've done deadheading on the Cypress Vine (Ipomoea quamoclit), the Rose Cactus (Pereskia bleo), Maiden's Jealousy Vine (Tristellateia australasiae), and the Garlic Vine (Mansoa alliacea), among others. All of these yielded postive results.

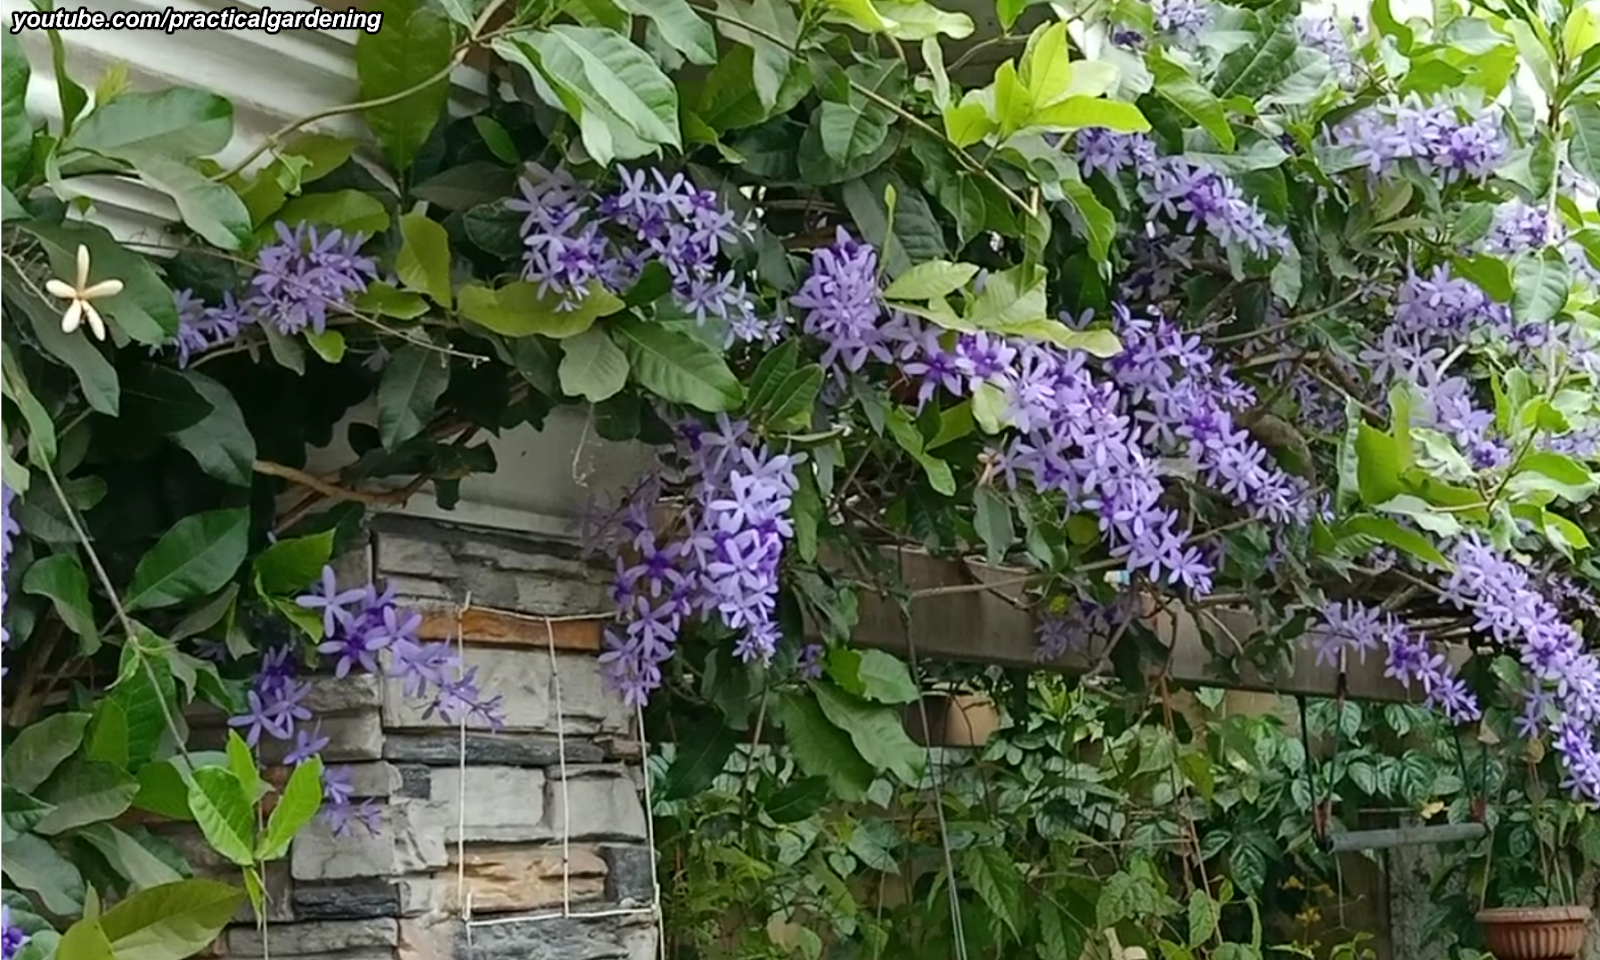
This time, I'm writing on my experience with deadheading on the Sandpaper Vine (Petrea volubilis) also known as Purple Wreath or Queen's Wreath. By its nature (vigorous growth and sandpapery leaves), there are some specific considerations, and those too will be discussed.

Wouldn't it be a gorgeous sight to have this display that greets you as you enter your home? And to have this sight a few times in the year at that!


Easy Adenium (Desert Rose) Grafting - Wedge Technique

In this article we'll explore a grafting technique called Top Wedge Grafting or, simply, Wedge Grafting as it's known with adeniums (desert rose). We chose an ordinary adenium to be the stock plant.

Ordinary or common adeniums are very hardy, robust, and would make a good choice as the stock. For the scion, we'll be using the beautiful triple-petal Thai variety called Rung Arung. Shown below in the inset is the Rung Arung adenium variety.

Designer Adenium Stem Sculpture 4 - Lantern

Among the Adenium (Desert Rose) Stem Sculptures I've created, the Lantern Design is by far the trickiest. It is perhaps the cutting or carving of the Adenium for the pattern you're after is not naturally intuitive. Without a design plan, or not following it correctly, you can have unwanted and, oftentimes, awful results. So what I wrote in this article was to simplify the planning and cutting processes that will yield the pattern you'll need to execute the design. And when you've successfully cut or carved the Adenium plant (photo below), you're in for a treat! (see inset)

Grafting Christmas Cactus to Dragon Fruit Plant

Video Tutorial


Watch the video below to help you better understand the rest of the article.


Christmas Cactus and Other Holiday Cacti


The first time I saw a Christmas Cactus, I couldn't believe cacti would grow and develop flowers that way. In a recent project, I was able to graft the moon cactus to the dragon fruit plant. I was amazed how the dragon fruit plant can be used as a versatile grafting stock for cacti.

Grafting Moon Cactus on Dragon Fruit Plant

Video Tutorial


Watch the video below to help you better understand the rest of the article.


Curiosity with the Moon Cactus


Wayback when I was visiting gardens shows in Los Banos, Laguna, I chanced upon a seller who had very colorful cacti on display. I learned from her that they were called Moon Cactus or Gymnocalycium mihanovichii. The prices were steep for my taste (as usual).

Well, I saw a tiny cactus pup (or offsets as they are called) that fell off in one pot. Of course, the curiousity in me led me into sneaking that pup into my pocket. This, with the intent of planting it at home as some sort of a cutting. I planted the pup. It just rotted after a few days.

I found out much later why there was no way for that Moon Cactus pup to survive.


DIY Mosaic Pots with Ceramic Tiles - Sealing the Tile Grout

(This is the continuation of Part 3)

When the tile grout has dried, the mosaic looks really good. The grout looks a bit chalky though and doesn't blend well with the rest of the glossy mosaic tiles. Not only that, the tile grout powder sometimes has the tendency to stick to your fingers when handling the pot.

And this is where you need to seal the grout with a tile grout sealer. The tile grout sealer penetrates the grout, fills and seals it. It leaves a waterproof surface with a shiny finish.


Sealing the Tile Grout

  1. The tile grout sealer is liquid and there's nothing to mix. However, do shake the tile grout sealer well. Spray some of the sealer on the mosaic garden pot. After spraying, spread the liquid around on the tile grout rather than on the tiles with your fingers. You may also use a small paint brush to apply the sealer on the grout.

DIY Mosaic Pots with Ceramic Tiles - Applying the Tile Grout

(This is the continuation of Part 2)

This may, arguably, be the fun part of the DIY Mosaic Garden Pot project, if not the dirtiest part. In this stage, you'll be working on filling in the spaces in between tiles of the mosaic and further securing them to the pot. Other than black, there are other available tile grout colors like gray and white. In a way, tile grouting gives a touch of color syle to the finished mosaic pot.

Applying the Tile Grout

  1. Before you add the tile grout, it is best to feel if there is tile adhesive that sticks out with the tiles. This is tile adhesive that may have been pushed out from beneath the tile pieces and dried. If so, use an old screwdriver to scrape off this excess tile adhesive.

    Ideally, there should be some space between the tiles for the grout to fill. Edges and points of broken tiles can be extremely sharp so wear garden gloves to protect your hands from injury.

DIY Mosaic Pots with Ceramic Tiles - Applying the Tiles

(This is the continuation of Part 1)

After the initial preparations on the pot and tiles, is the part where you will be filling in the design with the tiles. You will need tile adhesive for attaching the tiles to the garden pot.

In some other countries, this is sometimes called thinset tile mortar. Tile adhesive is cheap and is often bought by the bag. It and can be economical when making a number of mosaic garden pots at a time.

Applying the Tiles

  1. Put tile adhesive in a disposable plastic bowl with water. Be sure to follow the mixing ratio as instructed in the package label of the tile adhesive. Wear a protective face mask to avoid breathing the tile adhesive powder.

DIY Mosaic Pots with Ceramic Tiles

I've had initial success with mosaic pots and decided to make another one using some new techniques. I've stored away leftover tile grout and tile grout sealer and was unsure if they were still good enough. I did pack them really well and placed them in a dry and dark storage.

So now, which is a few years later, I decided to make another mosaic garden pot but with a different design. I was pleasantly surprised to find that the tile grout and sealer were still good!


How to Air-Layer Trees and Vines with Just Water

In a previous article, I mentioned how one could easily propagate the Bougainvillea with just water. There was one query asking if other garden plants would respond positively with this approach of propagation. In particular, the inquirer asked about the Gumamela, which is the local term for Hibiscus.

It was rather coincidental that I air-layered a Hibiscus plant with this water technique and sent her photos of the Hibiscus plant I successfully propagated. She was elated to know as she wanted to grow her Hibiscus collections.

It seems that common garden woody plants like the bougainvilleas and hibiscus respond well to air-layering with water. But how about the plants that potentially grow bigger, like vines and trees?

So I put that to the test with a very mature vine of ours which is the Sandpaper Vine or Petrea volubilis, shown below.

Air-Layering Technique with Plain Water - Part 2

(This is the continuation from Part 1)

With the bottle now covered and secured, water and fertilize the plant as usual. Occasionally check the inside for water. Fill it up if the water level falls below 1 inch. Water loss may occur due to evaporation or spill-out when the plant branch is disturbed.

Wait until the roots will form.

Procedure Once the Roots Emerge

  1. After 30 days, remove the foil cover of the bottle to peer on the inside of the plastic bottle. If the water in the bottle isn't to cloudy, you could actually notice some of the roots.


Air-Layering Technique with Plain Water

It was almost incredible to learn that some gardeners have professed to being able to propagate plants with just plain water. By this, I don't refer to dipping cuttings into a jar of water and then wait for some nubs to form which, hopefully, grow into roots.

That kind of propagation works, but seemingly to just a few kinds of plants - and sometimes, the mortality of seedlings is high.


Sandpaper Vine Propagation by Cuttings in Water

In a previous article, I wrote how the Sandpaper Vine (Petrea volubilis), also known as Queen's Wreath, Purple Wreath, Blue Bird Vine and Fleur de Dieu, can be propagated by using a simple method. That Sandpaper Vine propagation is by a humidity chamber.

Recently, I discovered another way to propagate the Sandpaper Vine almost by accident.

Intense Flowering of the Sandpaper Vine (Petrea Volubilis)

For a few days now, I've noticed that my Sandpaper Vine (Petrea volubilis) also known as Queen's Wreath has been flowering more than usual. I've had this vine for five years now and have taken interest especially on the vine's first flowering three years ago. It is only now that neighbors even took notice on the masses of flowers bloomed. Some passersby inquired on how it has flowered this way.


Considerations for a Garden Site

In a previous article entitled, Adding Another Vine Layer, I discussed some basic components of garden design for a garden wall. Here, I'll discuss some other considerations with regards to a garden site.


The Impact of Color and Texture

From among all expressions, maybe painting and gardening have most in common. Each is worried about structure, color and space. The purpose of each is eyes of the beholder. What's more, one serves additionally for the other - color, mass, surface, volume, form, etc. However, when one expression is held against another, the most obvious correlation is regularly the one that notes contrasts rather than similarities. Of the considerable number of contrasts that present themselves, none appears to be more noteworthy than the clear canvas with which the painter must start and the anything other than clear site that faces the gardener.

Designer Adenium Stem Sculpture 3 - Four Petal Pattern

With the wildly successful project I recently made on the Twist Basket pattern, I'm sharing another design called the Four-Petal pattern.

The Four-Petal Pattern is so named because the design appears to be the four petals of a flower. The same technique may be used for a six-petal pattern.


Designer Adenium Stem Sculpture 2 - Twist Basket Part 2

(This is the continuation of Part 1)

To be able to twist the cage (or basket) of the Adenium Stem Sculpture, you need to be able to rotate the top half or upper stem of the adenium plant. Rotation may be up to 180 degrees or to the extent that the stem will allow.

Once the cage is twisted, there is a waiting time of two weeks. This will allow the cut adenium strips to partially dry and heal while set into their new curved positions.

Designer Adenium Stem Sculpture 2 - Twist Basket

In a previous article, I discussed in detail how to create a basic cage as a Designer Adenium Stem Sculpture. This time, we'll put a twist to that basic cage and make it a Twist Cage, pun intended.

Sometimes, this design is also called Twist Basket. It takes inspiration from the Twist Basket design in stair balusters as shown below-left:


Although the baluster on the left has 4 twisted strips, the adenium plant on the right has 6 twisted strips.

The concept is easy. Create a basic cage and then carefully twist the top half of the adenium stem so the cage twists along with it. The technique for successfully twisting the cage is the main topic for this article.

Designer Adenium Stem Sculpture 1 - Basic Cage

After the tutorial on Adenium flat grafting method, we'll discuss a project on Designer Adenium Stem Sculpture.

Just when you thought that braiding the stems of adeniums (desert rose) was cutting-edge in transforming these already beautiful plants into an art form, here comes another.

Stems of adeniums are so flexible and versatile for all sorts of bending, cutting and splicing that there's plenty of options for stunning end-results.